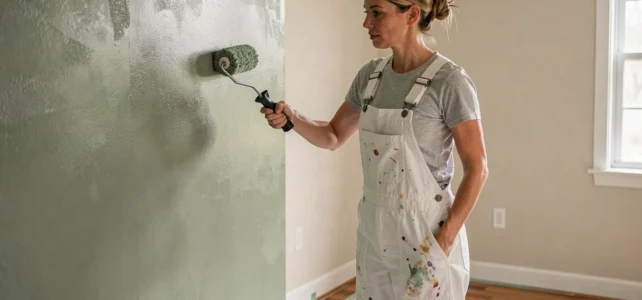
A freshly painted room changes its atmosphere in just a few hours. The final result depends less on the roller stroke than on everything that precedes it: the condition of the surface, the choice of product, and the management of drying between coats. Painting a room properly requires a precise method, and every shortcut will affect the finish.
Drying of the paint: the phase that most DIYers rush
Have you ever noticed roller marks visible only in low light? In most cases, the problem does not come from the paint itself, but from the time left between two coats.
An acrylic paint feels dry to the touch after about thirty minutes. At this stage, the surface is not ready for a new application. The film is still soft underneath. Applying the second coat too early causes microscopic tears, bubbles, or a marbled appearance once the wall is completely dry.
The recommended recoat time far exceeds the touch dry time. For a standard water-based paint, allow several hours before rolling again. Complete chemical curing can take several weeks. During this period, the paint remains vulnerable to impacts and fingerprints.
Temperature and humidity play a direct role. A poorly ventilated room in winter significantly slows down drying. Conversely, a warm, dry draft speeds up surface evaporation but traps moisture underneath, weakening adhesion. Opening a window to create moderate air circulation remains the best option. Before choosing the order to paint a room according to Déco en Vogue, you must first incorporate this drying constraint into your schedule.
Preparing the surface before painting: what ensures the result
A clean, smooth wall absorbs paint evenly. A poorly prepared wall creates differences in absorption that result in dull areas next to shiny areas, even with a quality product.
Filling and sanding
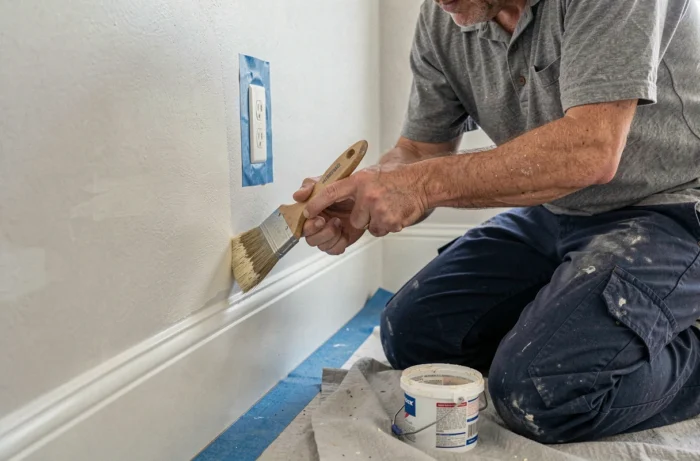
Every screw hole, crack, or chip must be filled with smoothing compound. Once dry, the compound is sanded with fine grit to achieve a smooth surface to the touch. Run your hand over the wall: any roughness felt under your fingers will be visible under the paint.
Washing and dusting
Old painted walls accumulate an invisible greasy film. Washing with soda (or oxydrine) degreases the surface and promotes adhesion. Rinse with clear water, then let it dry completely before applying the primer.
The primer is not an option, it’s a guarantee. It evens out the absorption of the surface. On a new wall or fresh plaster, the plaster absorbs the paint unevenly without a bonding primer. On an old dark coating, it prevents the need for multiple finishing coats to cover the existing color.
Choosing interior paint: finish and composition
Between acrylic and oil-based, the choice is quickly made for a living space. Acrylic paint (water-based) dries faster, has less odor, and cleans up with water. Oil-based paint, more resistant to humidity, remains relevant in a bathroom or kitchen exposed to splashes.
The finish radically changes the appearance:
- The matte finish hides wall imperfections but marks easily with friction. Suitable for ceilings and low-traffic walls.
- The satin finish offers a compromise between aesthetics and durability. It washes easily, suitable for living spaces and hallways.
- The gloss finish reflects light and visually enlarges the space but reveals the slightest surface defect. Best reserved for woodwork or perfectly prepared walls.
Since decree n° 2022-1689 applicable from January 1, 2023, the reference values for indoor air quality have been revised in France, particularly for formaldehyde. During painting work, ventilating the rooms in the hours following application is crucial to limit peaks in volatile compound emissions.
Roller application technique: gestures and method
The roller covers quickly but forgives little for bad techniques. Loading the roller without wringing it out causes drips. Moving it too quickly creates splatters. Picking it up on an area already drying leaves marks.
The method that yields a consistent result:
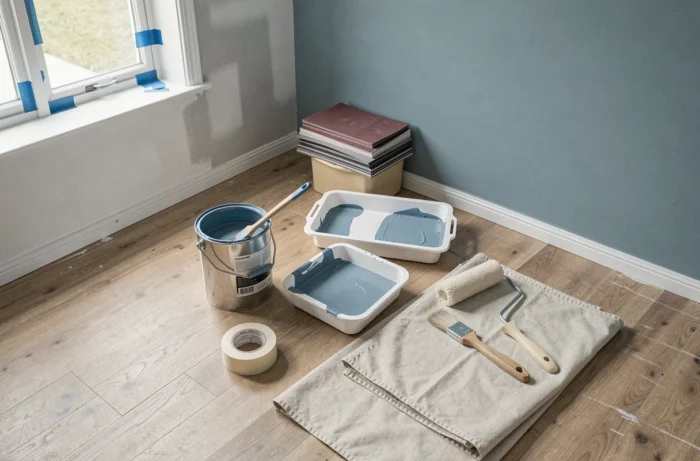
- Start by clearing the corners with a cutting-in brush (ceilings, baseboards, window and door frames).
- Load the roller in the tray, then wring it out on the grid by rolling it two or three times. The paint should be evenly distributed over the entire surface of the sleeve.
- Apply in crossed passes: first vertically on a band about one meter wide, then smooth horizontally without reloading the roller. Finish with a light vertical pass from top to bottom.
- Always work wet edge to wet edge. If you let a band dry before applying the next one, the junction will remain visible.
Painting the ceilings before the walls prevents dirtying a surface that has already been completed. Any splatters on the walls will be covered by subsequent coats. This simple sequencing eliminates half of the touch-ups.
Amount of paint and number of coats
Two coats are the minimum for a covering and durable finish. With a well-applied primer and quality paint, two finishing coats are sufficient in the vast majority of cases. A third coat only improves the result if the chosen color is very light on a dark background or if the surface is particularly porous.
The coverage indicated on the can (expressed in square meters per liter) serves as a basis for estimating the necessary amount. Measure the total surface area of the walls and ceiling, subtract the openings, then multiply by the number of planned coats. Allow for a safety margin for touch-ups and losses with the roller.
One last often-overlooked point: remove the masking tape before the last coat is completely dry. Waiting too long causes paint to tear along the strips, requiring touch-ups with a brush. A slow, 45-degree pull gives a clean line without smudging.